
Work orderBasement bathroom
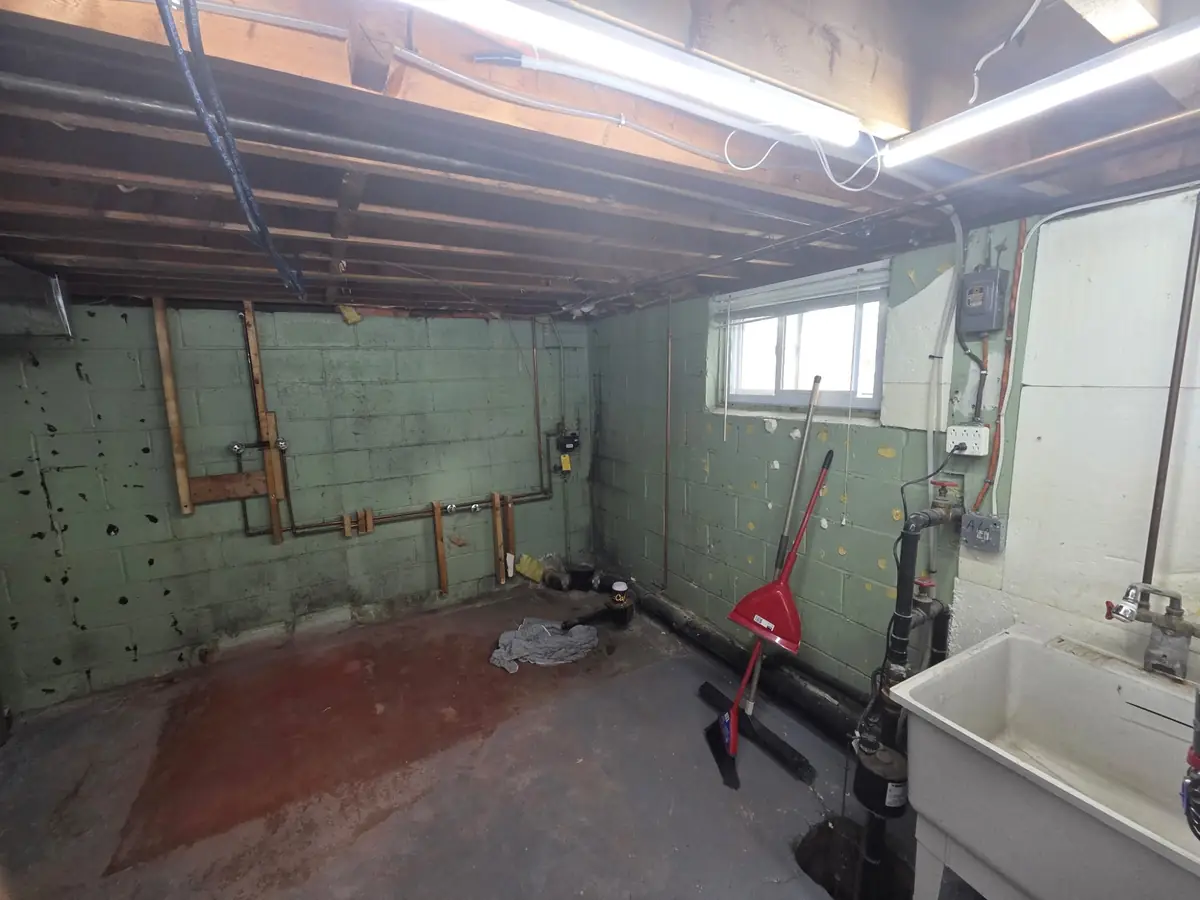
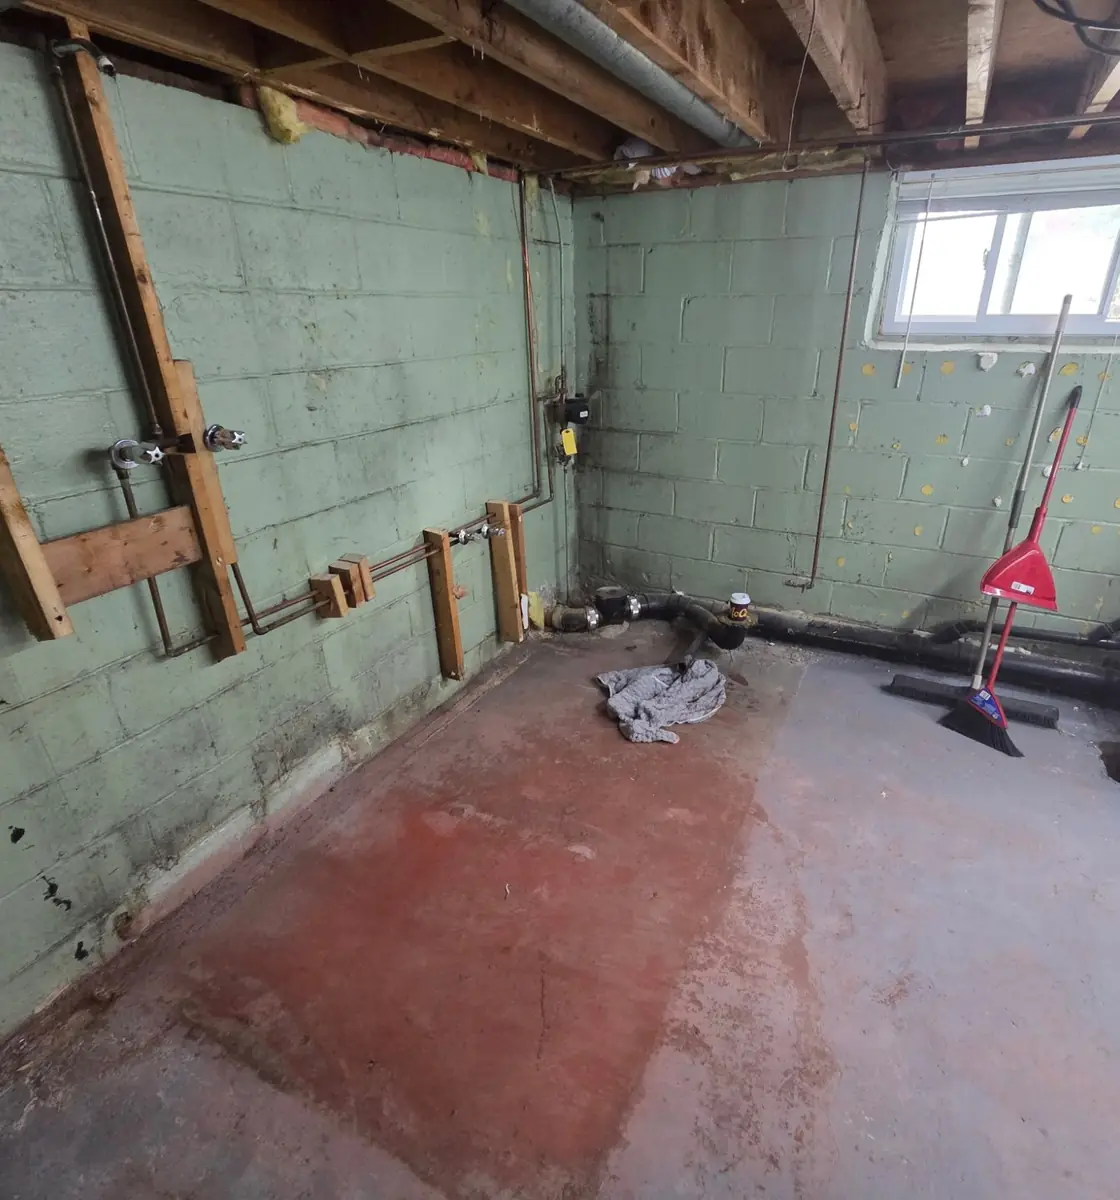
A laundry corner became a bathroom.
Ryan’s own list for a basement bathroom: all 19 steps, in the order he does them. The photos beside it are from one job, each one laid over the last in register as the work went on.
- Steps
- 19
- Licensed trades
- Master plumber, master electrician
- Started as
- Block walls, a floor drain, the laundry
Break ground
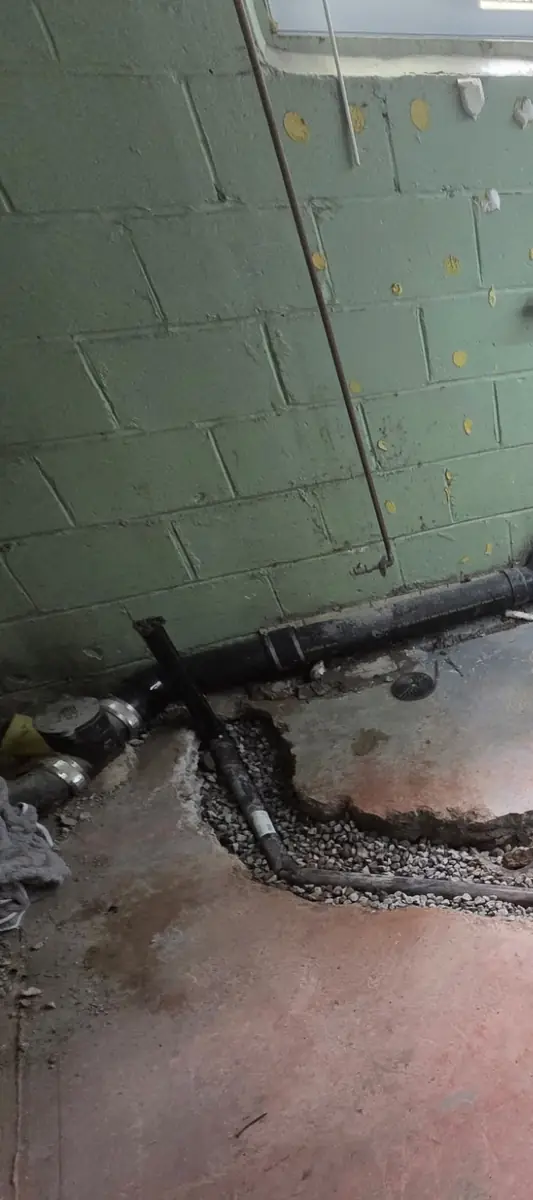
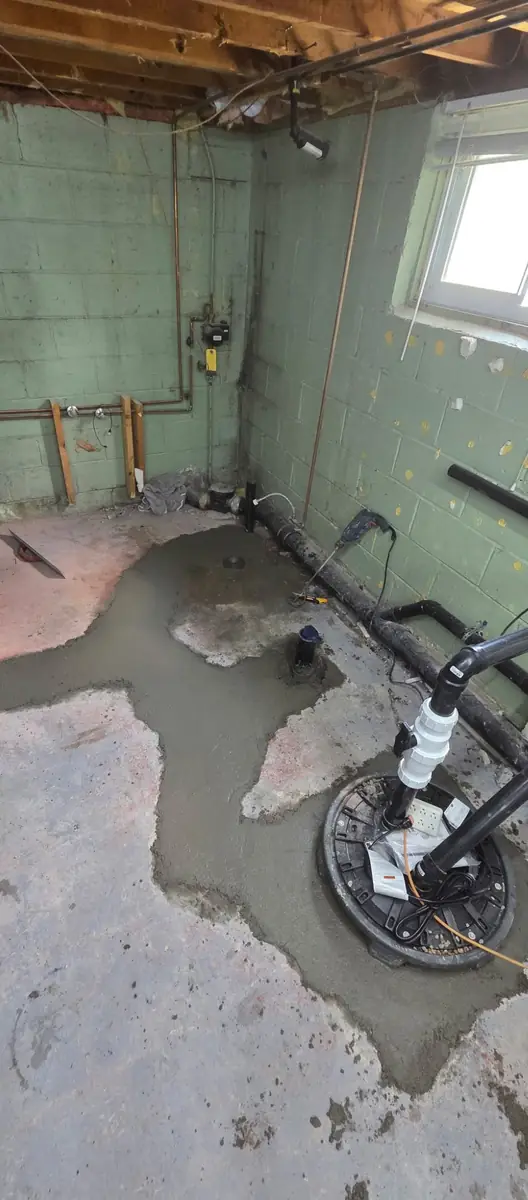
A bathroom below grade starts under the floor. Here the slab was cut from the corner out to a new pit by the laundry, and the drains went in on gravel.
-
01Demolition
- Remove existing fixtures, finishes, flooring and drywall.
- Clean and prep the space.
-
02Underground plumbing
- Cut concrete.
- Excavate and trench for the new plumbing.
- Install drains with the right drainage slope.
- Plumbing completed and tied in by a master plumber.
- Backfill and repair the concrete.
Master plumber
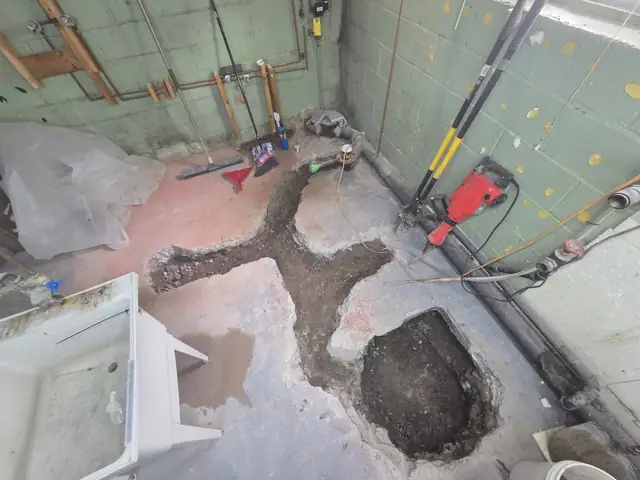
The slab cut and trenched from the corner to the new pit. 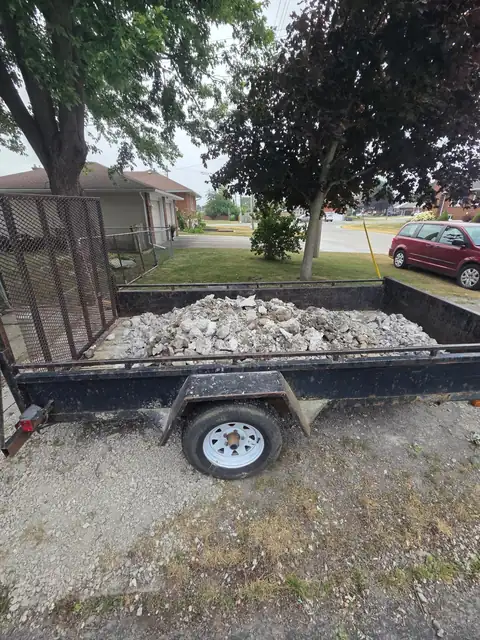
The old slab, on its way out.
The bones
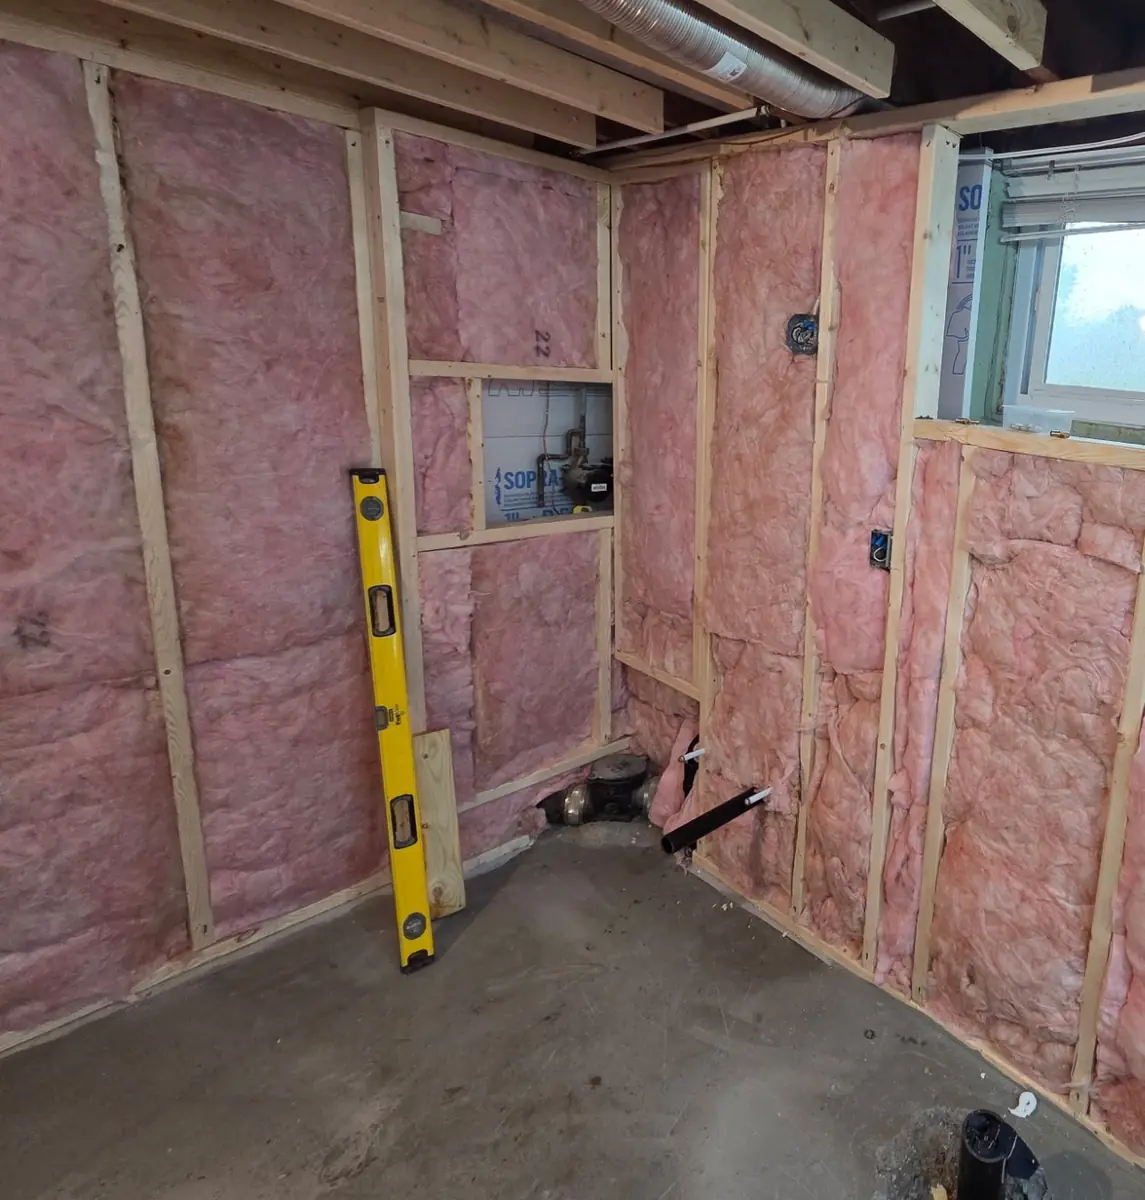
Foam on the block, new walls, then everything that hides inside them. The water meter kept a framed opening of its own.
-
03Rigid foam and framing
- Install rigid foam insulation where required.
- Frame walls, bulkheads, niches and backing.
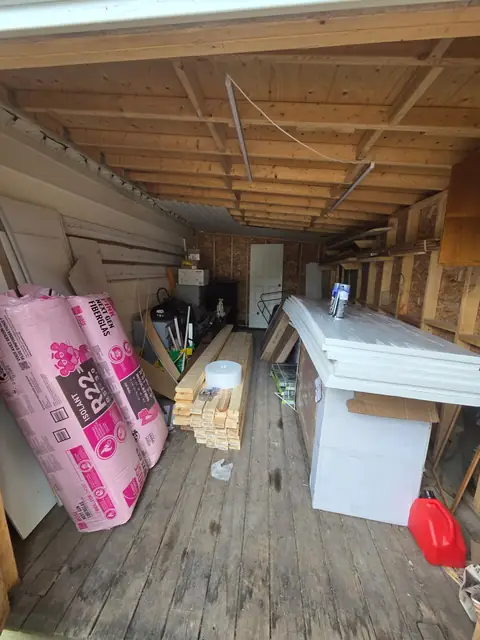
Batts, studs and foam, staged and ready. 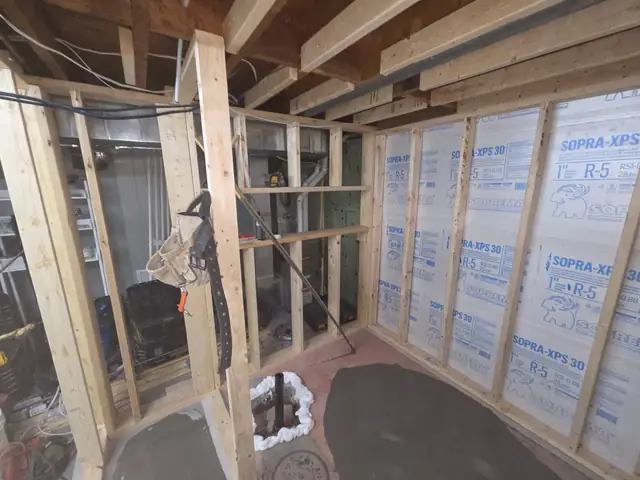
One-inch Sopra-XPS foam (R-5) on the block, then the stud walls. -
04Electrical rough-in
- Run wiring for lighting, switches, receptacles, the fan and vanity lighting.
- Electrical completed and tied in by a master electrician.
Master electrician
-
05Plumbing rough-in
- Shower or tub supply lines, valve, shower head and handheld, vanity supply and drain, and the toilet connection.
- Install any backing and supports they need.
-
06Insulation and vapour barrier
- Install fibreglass insulation.
- Install vapour barrier where required.
Close it in
Drywall and primer everywhere, and in the shower the part that has to be perfect: a waterproof box before any tile goes on.
-
07Drywall
- Board, tape and mud.
- Sand and prep for finishing.
-
08Prime and first paint
- Prime the drywall.
- Sand and prep as required.
- Apply the first finish coats where it makes sense.
-
09Shower or tub, and waterproofing
- Install the shower pan, tub or base.
- Install the right wall board behind it.
- Waterproof the walls, niches, corners and every penetration.
- Test the waterproofing where it applies.
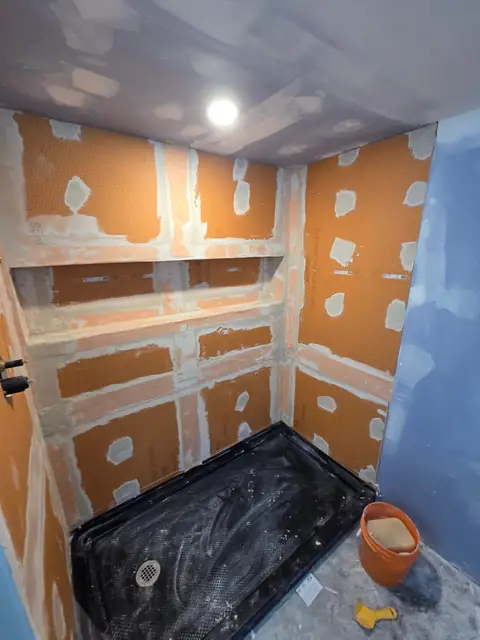
Kerdi-Board on every shower wall, each seam and screw sealed, a long niche built in.
Tile
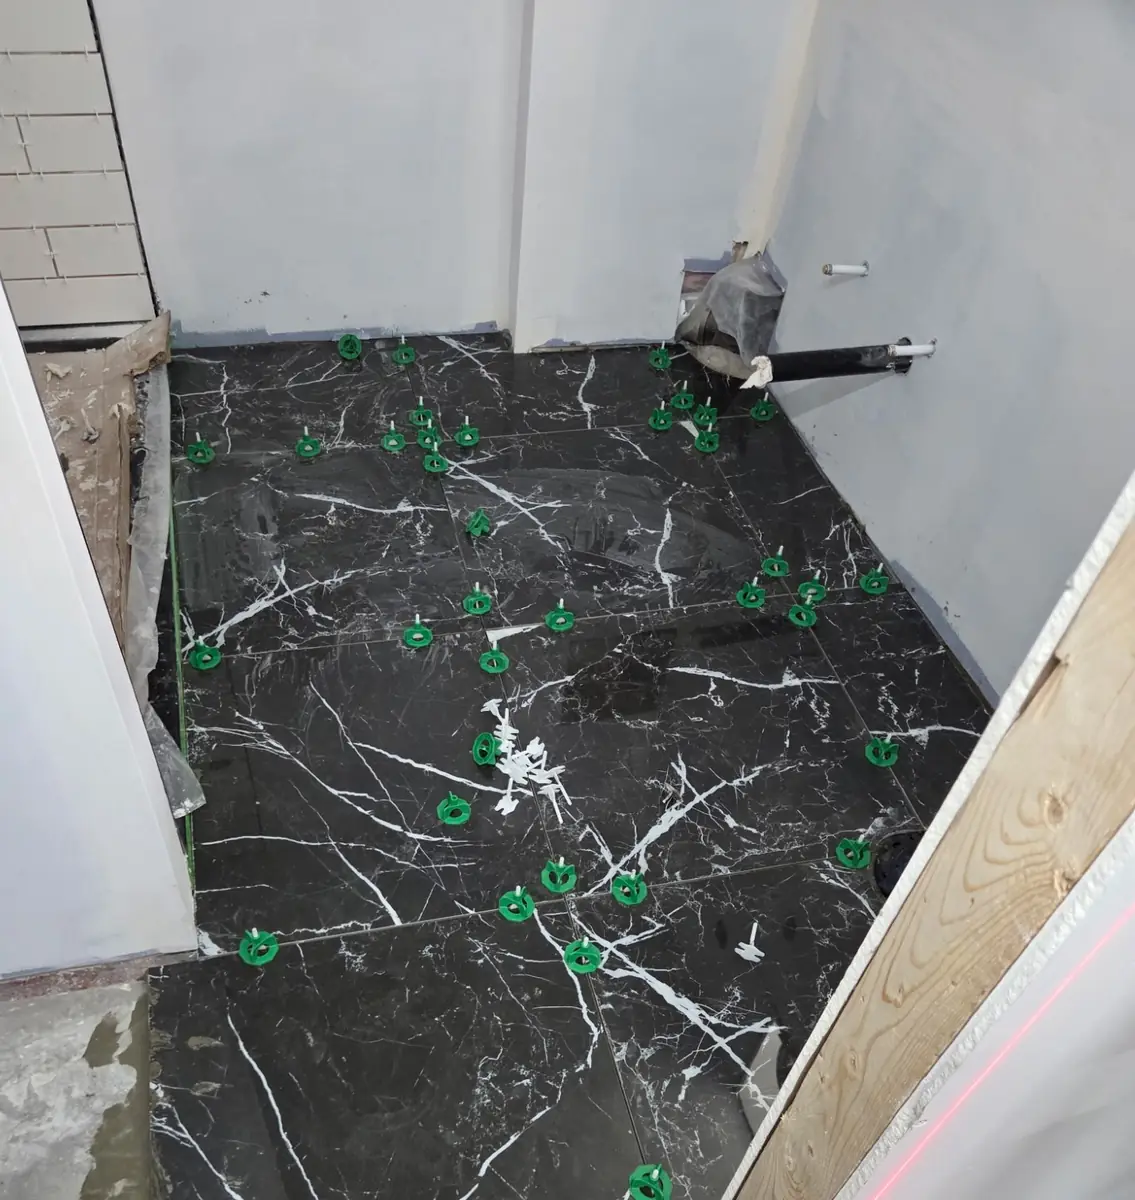
Large-format tile only looks expensive when every edge sits dead flush. Clips hold each one until the thinset sets.
-
10Shower tile
- Lay out and install the shower or tub surround tile.
-
11Floor tile
- Prep the floor and substrate.
- Lay out and install the floor tile.
-
12Grout and seal
- Grout the shower and floor tile.
- Seal where required.
- Silicone every change of plane and wet-area joint.
-
13Shower doors and glass
- Measure and install the shower doors or glass enclosure.
Finish
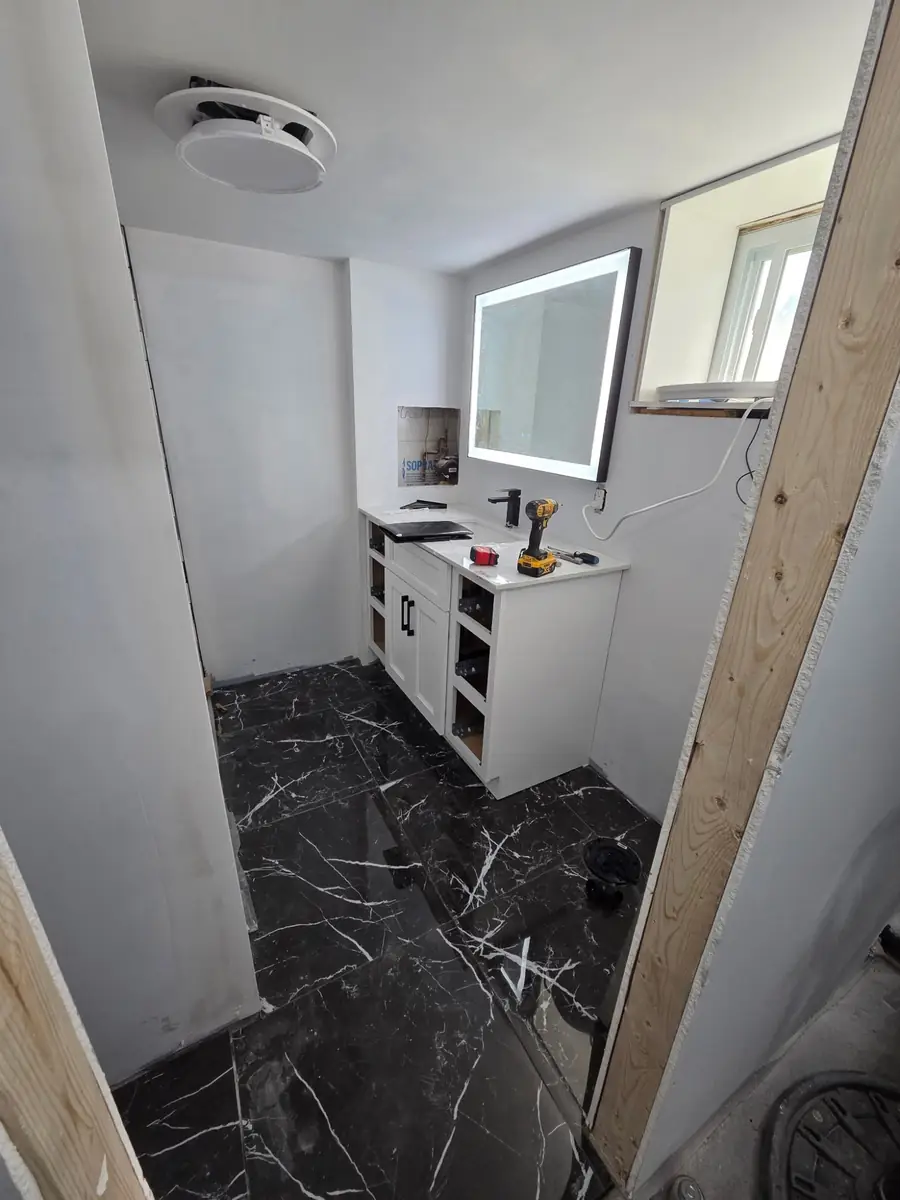
Fixtures, power, trim and paint, then a walkthrough where every one of them gets tested.
-
14Plumbing finish
- Shower head, faucet, handheld and trim.
- The toilet.
- Vanity, sink and faucet.
- Final plumbing connections.
-
15Electrical finish
- Switches, receptacles, cover plates, lights and fan trim.
- Final hookup and testing by a master electrician.
Master electrician
-
16Trim and finish carpentry
- Baseboard, door and window casing.
- Doors and the rest of the finish trim.
-
17Accessories
- Mirror, towel bars and hooks, toilet paper holder, towel ring and shelving.
-
18Final paint and touch-ups
- Fill nail holes and caulk the trim.
- Sand where needed, then the final coats and touch-ups.
-
19Final inspection and cleanup
- Test the fixtures, drains, lights and fan.
- Check the caulking, grout, doors, hardware and finishes.
- Final cleanup and a walkthrough with you.
That’s the job.
Every step, in order, from the slab to the walkthrough.
Ryan DuceyDucey Renos
Got a corner like this?
Your instant estimate is three taps away, priced from Ryan’s real numbers.
Move across the walls to see what’s inside them.Drag across the walls to see what’s inside them.
From the finish stage: vanity in, mirror lit, floor grouted.